
Here you will see how to add MIDI Musics in your Unity application in a few steps.
- If you are starting a new project see bellow.
- If you want to updating Maestro, read this post.
1 – Project
1.1 – Download Free Midi Player Tool Kit or download Pro Midi Player Tool Kit.
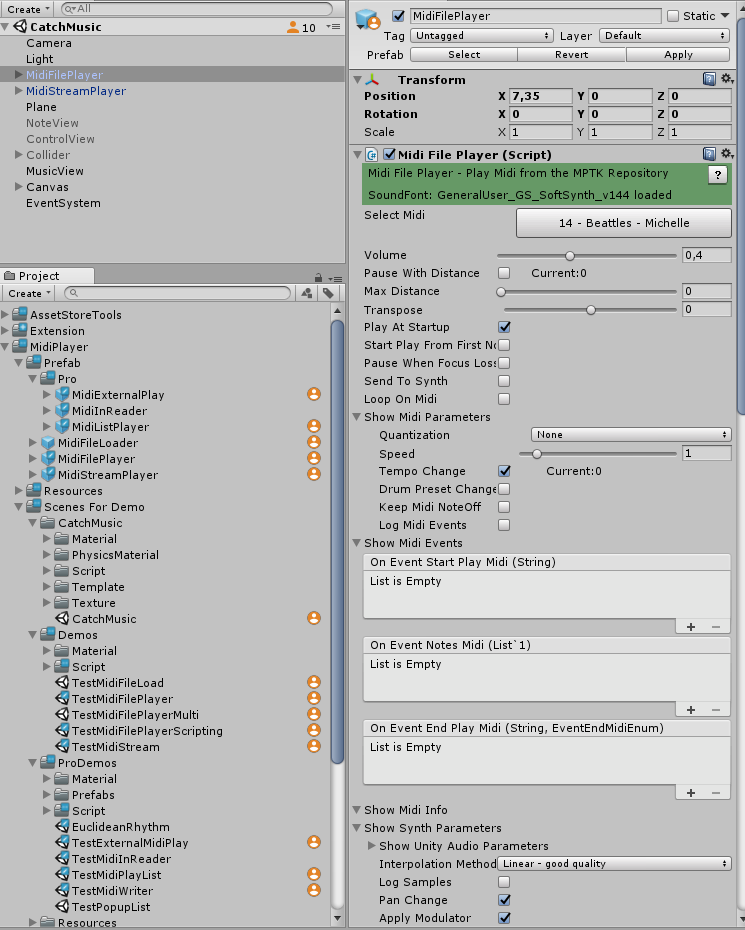
1.2 – Import Unity package in your Unity application, you will get something like this in your project:

Tips : Free version comes with a default SoundFont (GeneralUser_GS_SoftSynth_v144) and some examples of MIDI files. However, you can delete all the MIDI files and add your favorites (see Midi Player Tool Kit Setup below) even with the free version 😉
SoundFont(R) is a registered trademark of E-mu Systems, Inc.
Tips : Pro version comes with no SoundFont and no MIDI file. See why here. Have a look to theses pages to understand How to add Midi file and How to add SoundFonts before beginning this quick start.
Important Recommendations!!!
To facilitate installation of futures updates of MPTK, please follow these rules otherwise you will lost compatibility with the futures versions.
- Create your assets apart of the MidiPlayer assets folder.
- Don’t change anything in MPTK scripts or hierarchy.
- Don’t change anything in the prefab. Of course, Inspector setting are at your disposal!
- Use only documented API.
2 – Hierarchy
If you already have added MIDI files and SoundFont in MPTK, you can continue with the actions below. Otherwise, look here how to Add Midi files and how to Add SoundFonts into Maestro MPTK.
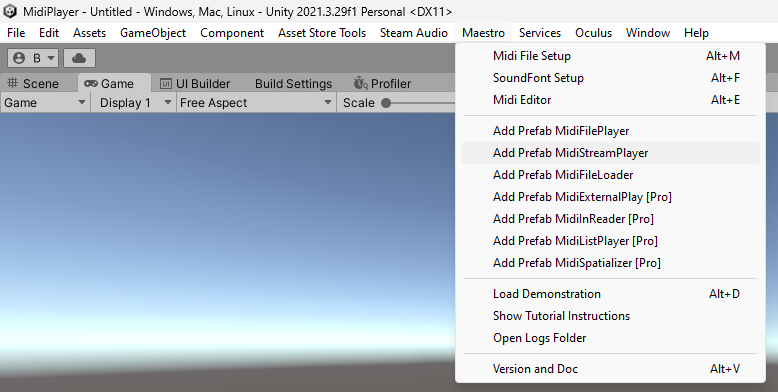
2.1 – Add to your Unity hierarchy, one or more “MidiFilePlayer” Prefab from the menu Maestro. Look here for understanding the role of each Prefab.
Select a Prefab from the Maestro menu:
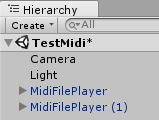
Your current scene will have something like this:
2.2 – Check that you have an AudioListener component somewhere in the hierarchy of your scene. This component is typically associated with the “Main Camera” and is automatically created with a new Unity scene.
Tips: Unless you are an expert of MPTK, never try to use directly MPTK source files as MidiFilePlayer.cs. Some components are required to play MIDI Music. Always use Prefab!
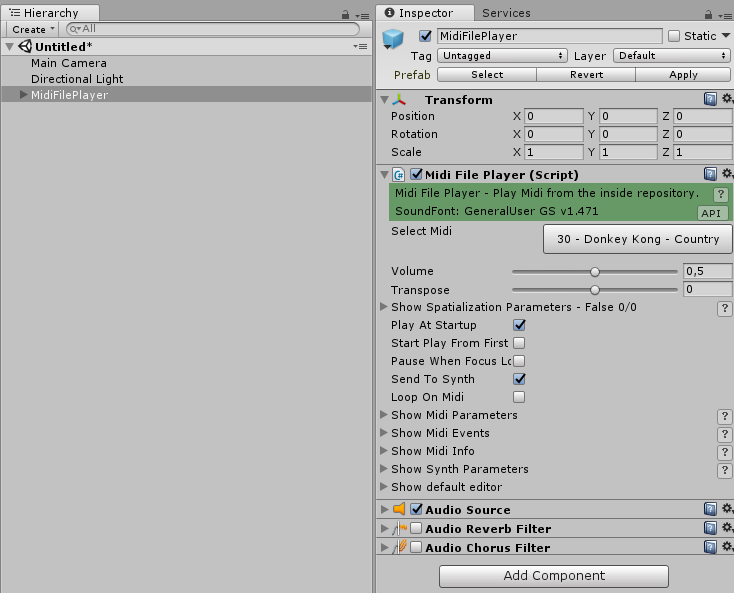
3 – From the MidiFilePlayer Inspector
3.1 – Firstly, select the MidiFilePlayer (or any other Maestro Prefab) added in your scene hierarchy and look at the Inspector.
3.2.1 – Secondly, select the MIDI File you want to play in the inspector. But, if no MIDI is available, see How to add Midi file.
3.2.2 – Thirdly, check that “Play At Startup” and “Send To Synth” are checked. Normally, this is the case because it’s the default value.
It’s over! Now you can run your Unity application, the MIDI will beginning to play!
Summary in a very short video:
Try to change some parameters directly in the inspector: play speed, transpose, add effects, change MIDI … all setting are real-time parameters, so new values are taken into account immediately. See here to have a description of all parameters.
3.2.4 – Most important. Have fun!!!
 Mega Bundle